Cabinet Installation Tool Kit: Layout, Scribing and Confined Fasteners
Plan cabinet installation around level references, reliable support and controlled fastening. Access and finished-surface protection often matter more than maximum power.
7 practical picksOrganized around the workUS-focused
Plan cabinet installation around level references, reliable support and controlled fastening. Access and finished-surface protection often matter more than maximum power.
01
1. Confirm dimensions and fixing locations
Measure the room and check service locations before planning fixings. Establish level references and identify a suitable substrate by the appropriate method. A generic wall reading or assumption is not a fixing design.
02
2. Support and align the units
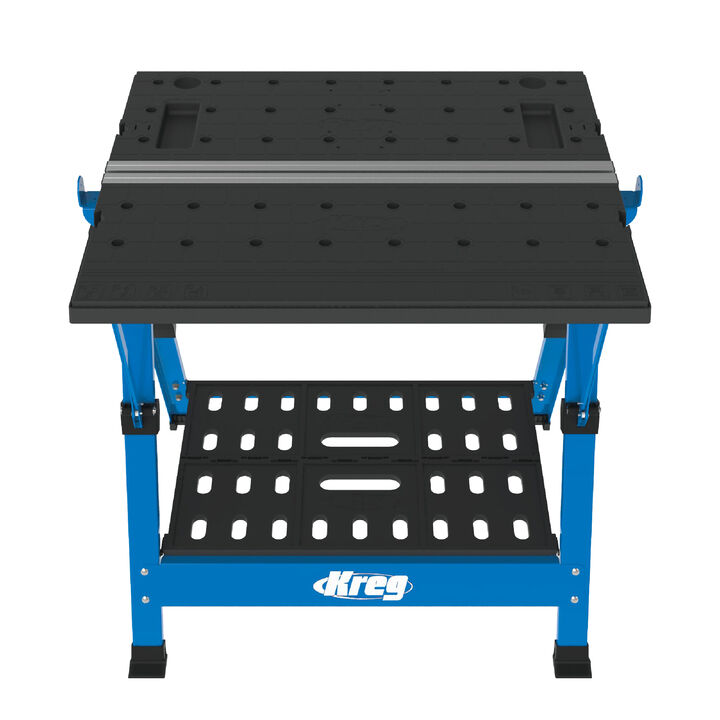
Use an installation sequence, suitable support and clamps that keep the unit stable while alignment is checked. Plan assistance for bulky units; a drill does not make lifting or overhead support safe.
03
3. Scribe and cut the required fit
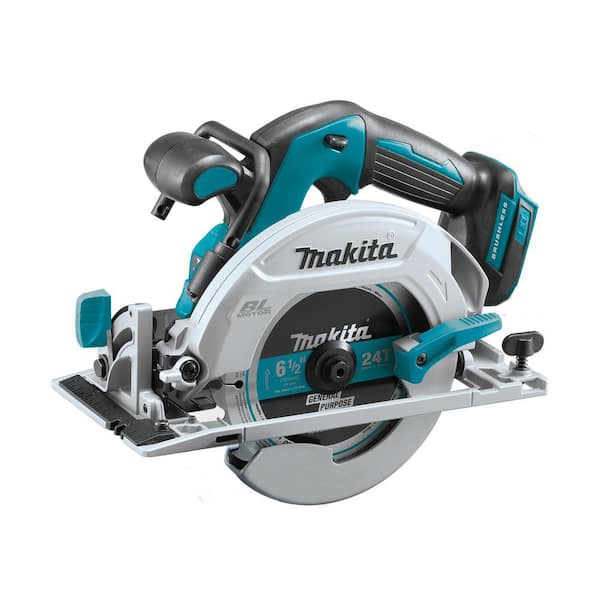
Select the right tool for the scribe or panel. A circular saw can suit supported straight cuts; curved scribes, exposed panels and hinge preparation may require a jigsaw, track saw or router. Protect the face and check a test cut before committing finished material.
04
4. Drill and fasten with control
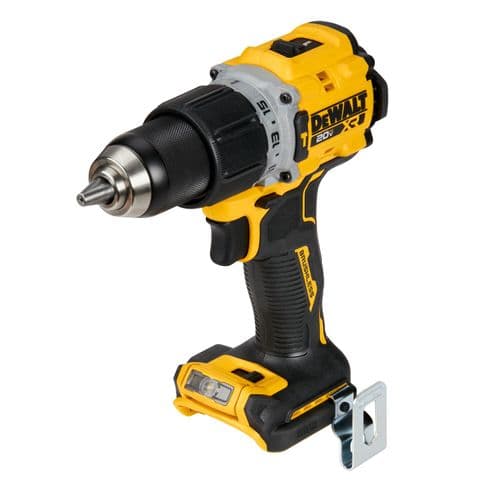
Prepare supported pilot holes and follow the cabinet and fixing manufacturer’s requirements. An offset or right-angle drill head may solve an access problem. Keep the tool from contacting an adjacent finished face.
05
5. Verify doors, drawers and clearances
Check the assembled run, hardware movement and appliance or service clearances. Adjust with appropriate hand tools rather than using more torque to force a poorly aligned component.
SPEND WHERE IT HELPS THE JOB
A buying plan for your stage of the trade
Starting cabinet work
Buy reliable layout, clamps, support and a controlled drill before specialized cutters. A basic installation task may not justify a new battery ecosystem.
Existing battery owner
Prefer a capable compatible drill if it reaches the fastener. Choose the installation-head system because it solves access, not because a second platform is fashionable.
High-value finished materials
Allow for proper cutting guides, finish blades and extraction. Hiring a suitable panel-cutting system can be better value than damaging a finished side with an improvised setup.
JOB TOOL KIT
The tools that earn their place in the bag.
These are organized by the part of the job they support. “Core” means we would prioritize it before the nice-to-have upgrades.
Research-based tool selection from manufacturer documentation. We have not hands-on tested these products. How we choose tools →