Door Installation Tool Kit: Check the Opening, Fit the Leaf and Set the Hardware
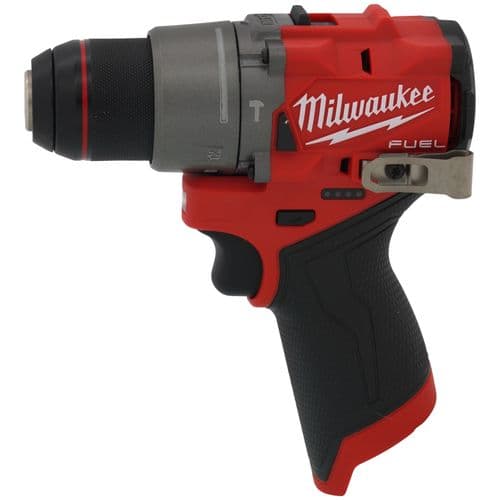
Build a door-fitting kit around the opening, permitted trimming and hardware access. A compact installation drill may be more useful than another high-torque tool.
7 practical picksOrganized around the workUS-focused
Build a door-fitting kit around the opening, permitted trimming and hardware access. A compact installation drill may be more useful than another high-torque tool.
01
1. Inspect the opening and door specification
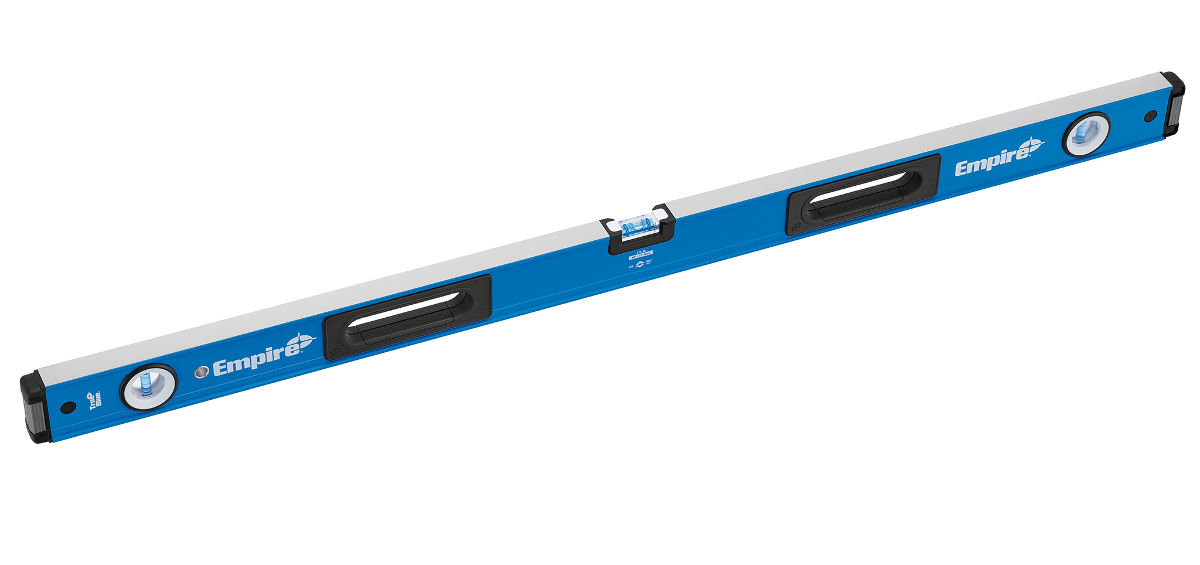
Check the opening, swing, substrate and door type. Measure diagonals and verify plumb and level with suitable layout tools. Fire-rated or listed assemblies have specific restrictions; do not assume a door can be trimmed or hardware substituted freely.
02
2. Establish the permitted fit
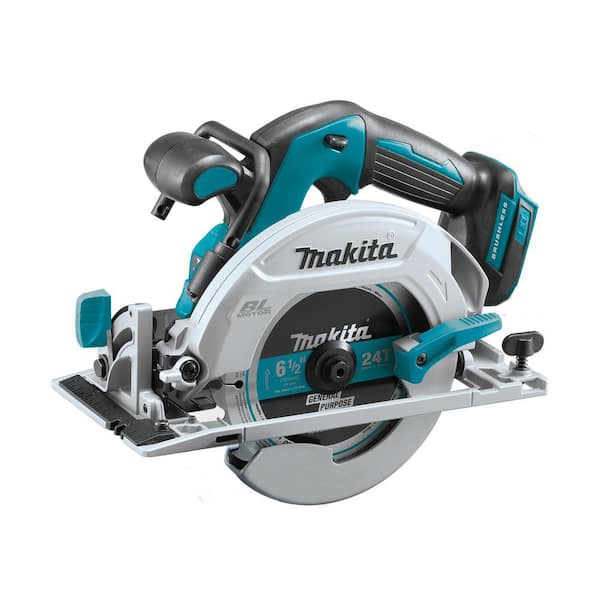
Read the door manufacturer’s trimming and hardware allowances. A circular saw may cover a supported straight trim, but the blade, guide, face protection and work support determine whether the setup fits the finish. Some work calls for a planer or track saw instead.
03
3. Prepare hardware locations
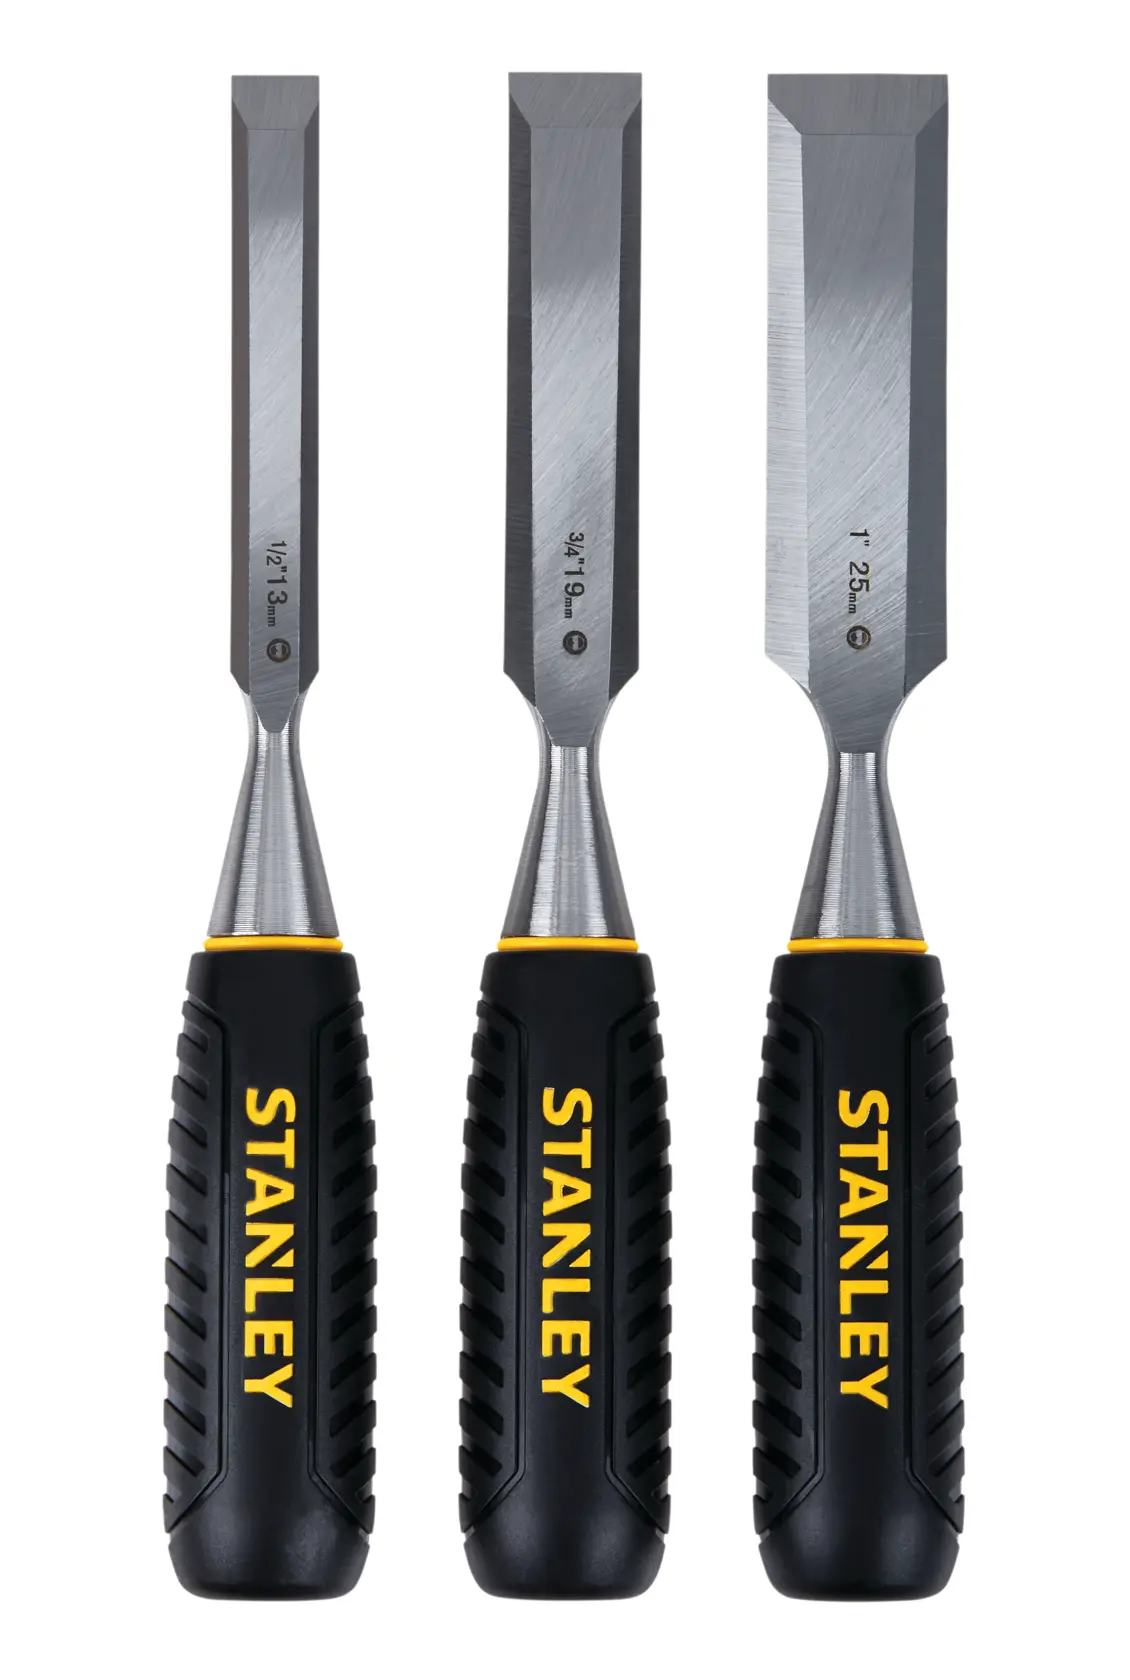
Use the specified templates, marking tools, chisels or routing arrangement. Pilot holes and clearances should follow the actual hardware and substrate. Keep the leaf supported while drilling rather than relying on a helper to hold it casually.
04
4. Assemble and adjust
Use controlled driving for suitable hinge and hardware fasteners. Interchangeable or offset heads can help where adjacent surfaces limit the approach. Avoid treating impact-driver power as the correct setting for delicate hardware.
05
5. Check operation
Verify clearances, latching and movement in the installed condition. Recheck against the assembly requirements; a successful swing alone does not demonstrate compliance of a rated door.
SPEND WHERE IT HELPS THE JOB
A buying plan for your stage of the trade
Occasional adjustments
Prioritize hand drivers, sharp fitting tools, layout and a suitable drill. Hire or use the crew’s specialist cutting equipment when it is required for one unusual door.
Repeat installations
An access-focused drill and proper templates can be a more targeted upgrade than maximum drill torque. Include bits, hardware-specific preparation tools and support.
Finished or rated doors
Pay for the correct method and equipment. Do not reduce costs by improvising a trim outside the manufacturer’s allowances or using an unsuitable blade on an expensive finished leaf.
JOB TOOL KIT
The tools that earn their place in the bag.
These are organized by the part of the job they support. “Core” means we would prioritize it before the nice-to-have upgrades.
Research-based tool selection from manufacturer documentation. We have not hands-on tested these products. How we choose tools →
The first question is what lets you approach and verify the work safely, not which brand has the loudest launch campaign.
02
Reduce second trips
Tools earn a place when they remove guesswork, avoid a return to the van or help verify the repair before you leave.
03
Buy in the right order
Apprentices and working techs can see what is core, what is useful and what is an upgrade instead of buying everything at once.
SEARCH QUESTIONS
Questions about this kit
Is a hammer drill necessary for fitting a timber door?
Hammer mode is not the reason to choose a tool for ordinary timber pilot holes. Substrate work may need a different drilling method; choose by the actual material.
Should I use an impact driver on hinges?
Use the hardware-specified method. Controlled drilling or hand driving may fit better where screw heads, threads or the finished surface can be damaged.