Framing Carpenter Tool Kit: Layout, Cut Lists and Structural Fastening
Plan a framing kit around repeatable layout, supported stock cutting and the specified fastening schedule. Choose corded or cordless cutting according to the site and existing batteries.
8 practical picksOrganized around the workUS-focused
Plan a framing kit around repeatable layout, supported stock cutting and the specified fastening schedule. Choose corded or cordless cutting according to the site and existing batteries.
01
1. Read the layout and fastening requirements
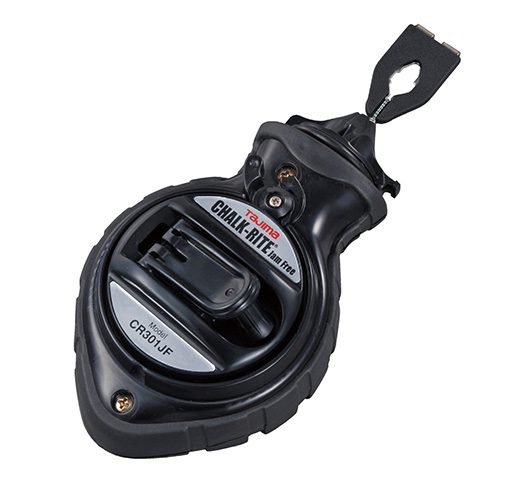
Confirm member sizes, openings and the approved drawings before creating a cut list. Use a tape, square, chalk line and suitable level to establish common references; do not derive structural details from a tool recommendation.
02
2. Set up stock and cut support
Organize materials so the cut station supports the work without binding the blade or leaving uncontrolled offcuts. Check actual cut depth and bevel capacity against the stock, including angled cuts. A blade’s nominal diameter does not describe every cut it can make.
03
3. Cut to an organized list
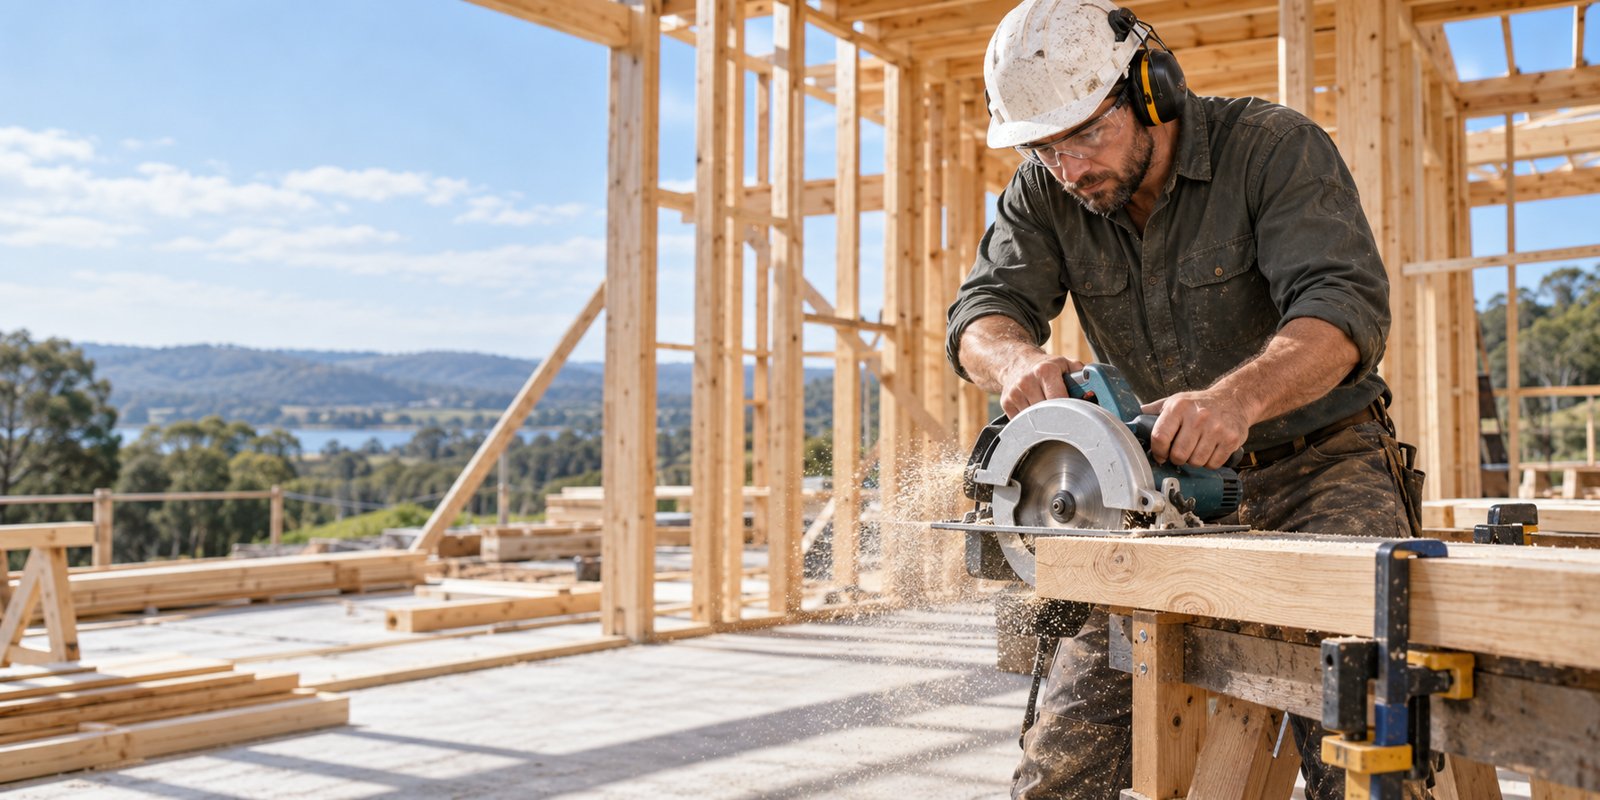
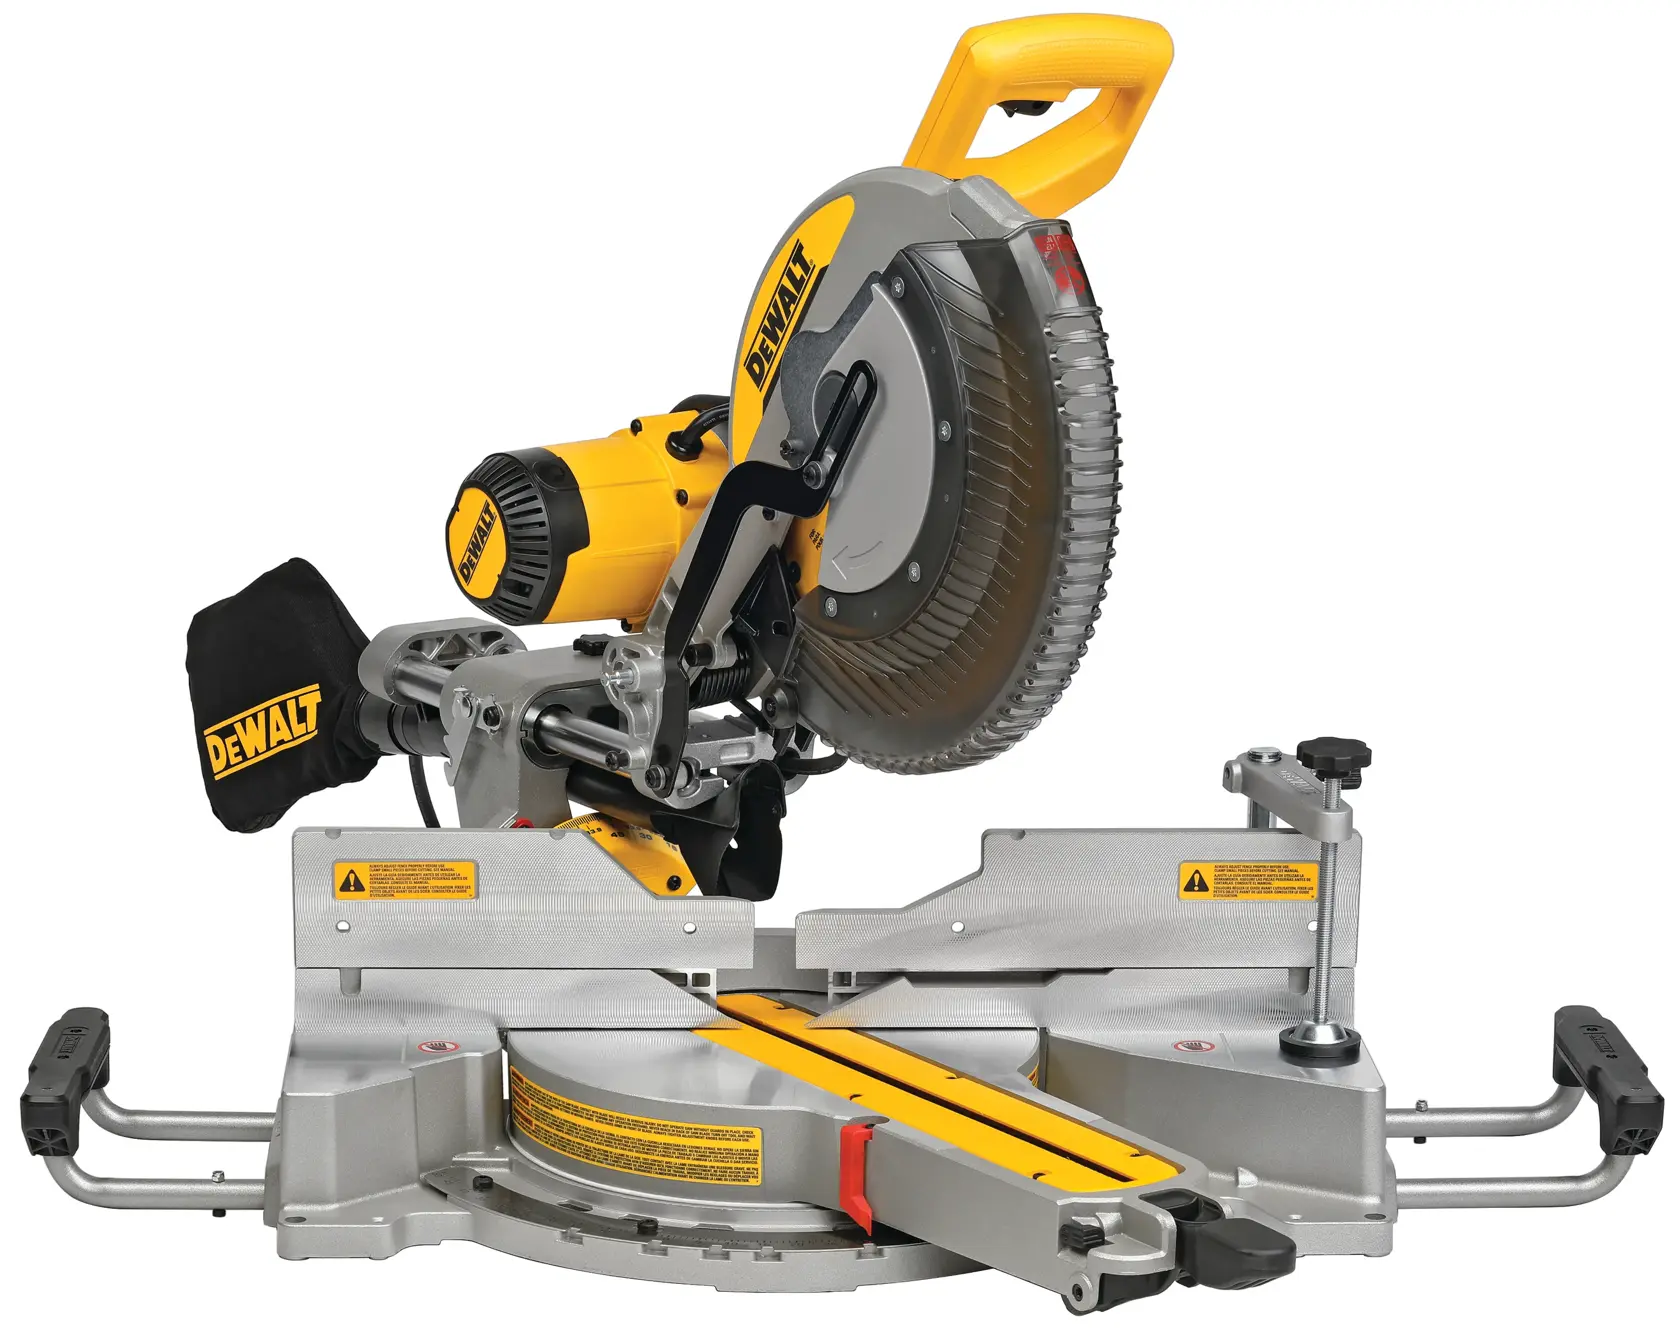
A circular saw works at the material; a miter station suits repeat crosscuts within its capacity. Label pieces where the assembly requires it and check a first piece before repeating a batch. Choose a blade appropriate to the stock and required finish.
04
4. Assemble with the specified fasteners
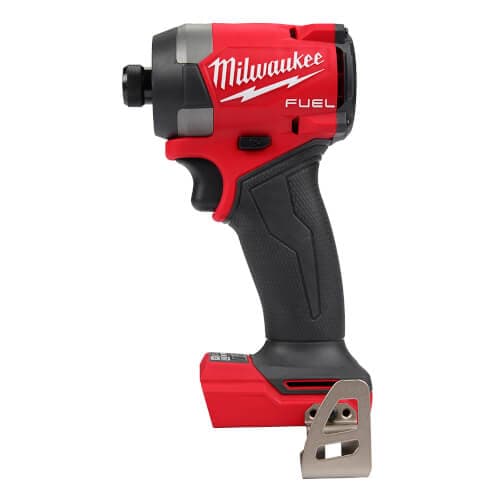
Use the specified nail or screw system and installation method. An impact driver is a candidate for permitted screws, not a substitute for a framing nailer or approval to use ordinary construction screws structurally.
05
5. Check the assembly before covering
Check line, level, plumb, openings and the fastening schedule while the frame remains accessible. Correct layout or fastening issues before later work hides them.
SPEND WHERE IT HELPS THE JOB
A buying plan for your stage of the trade
Lean framing kit
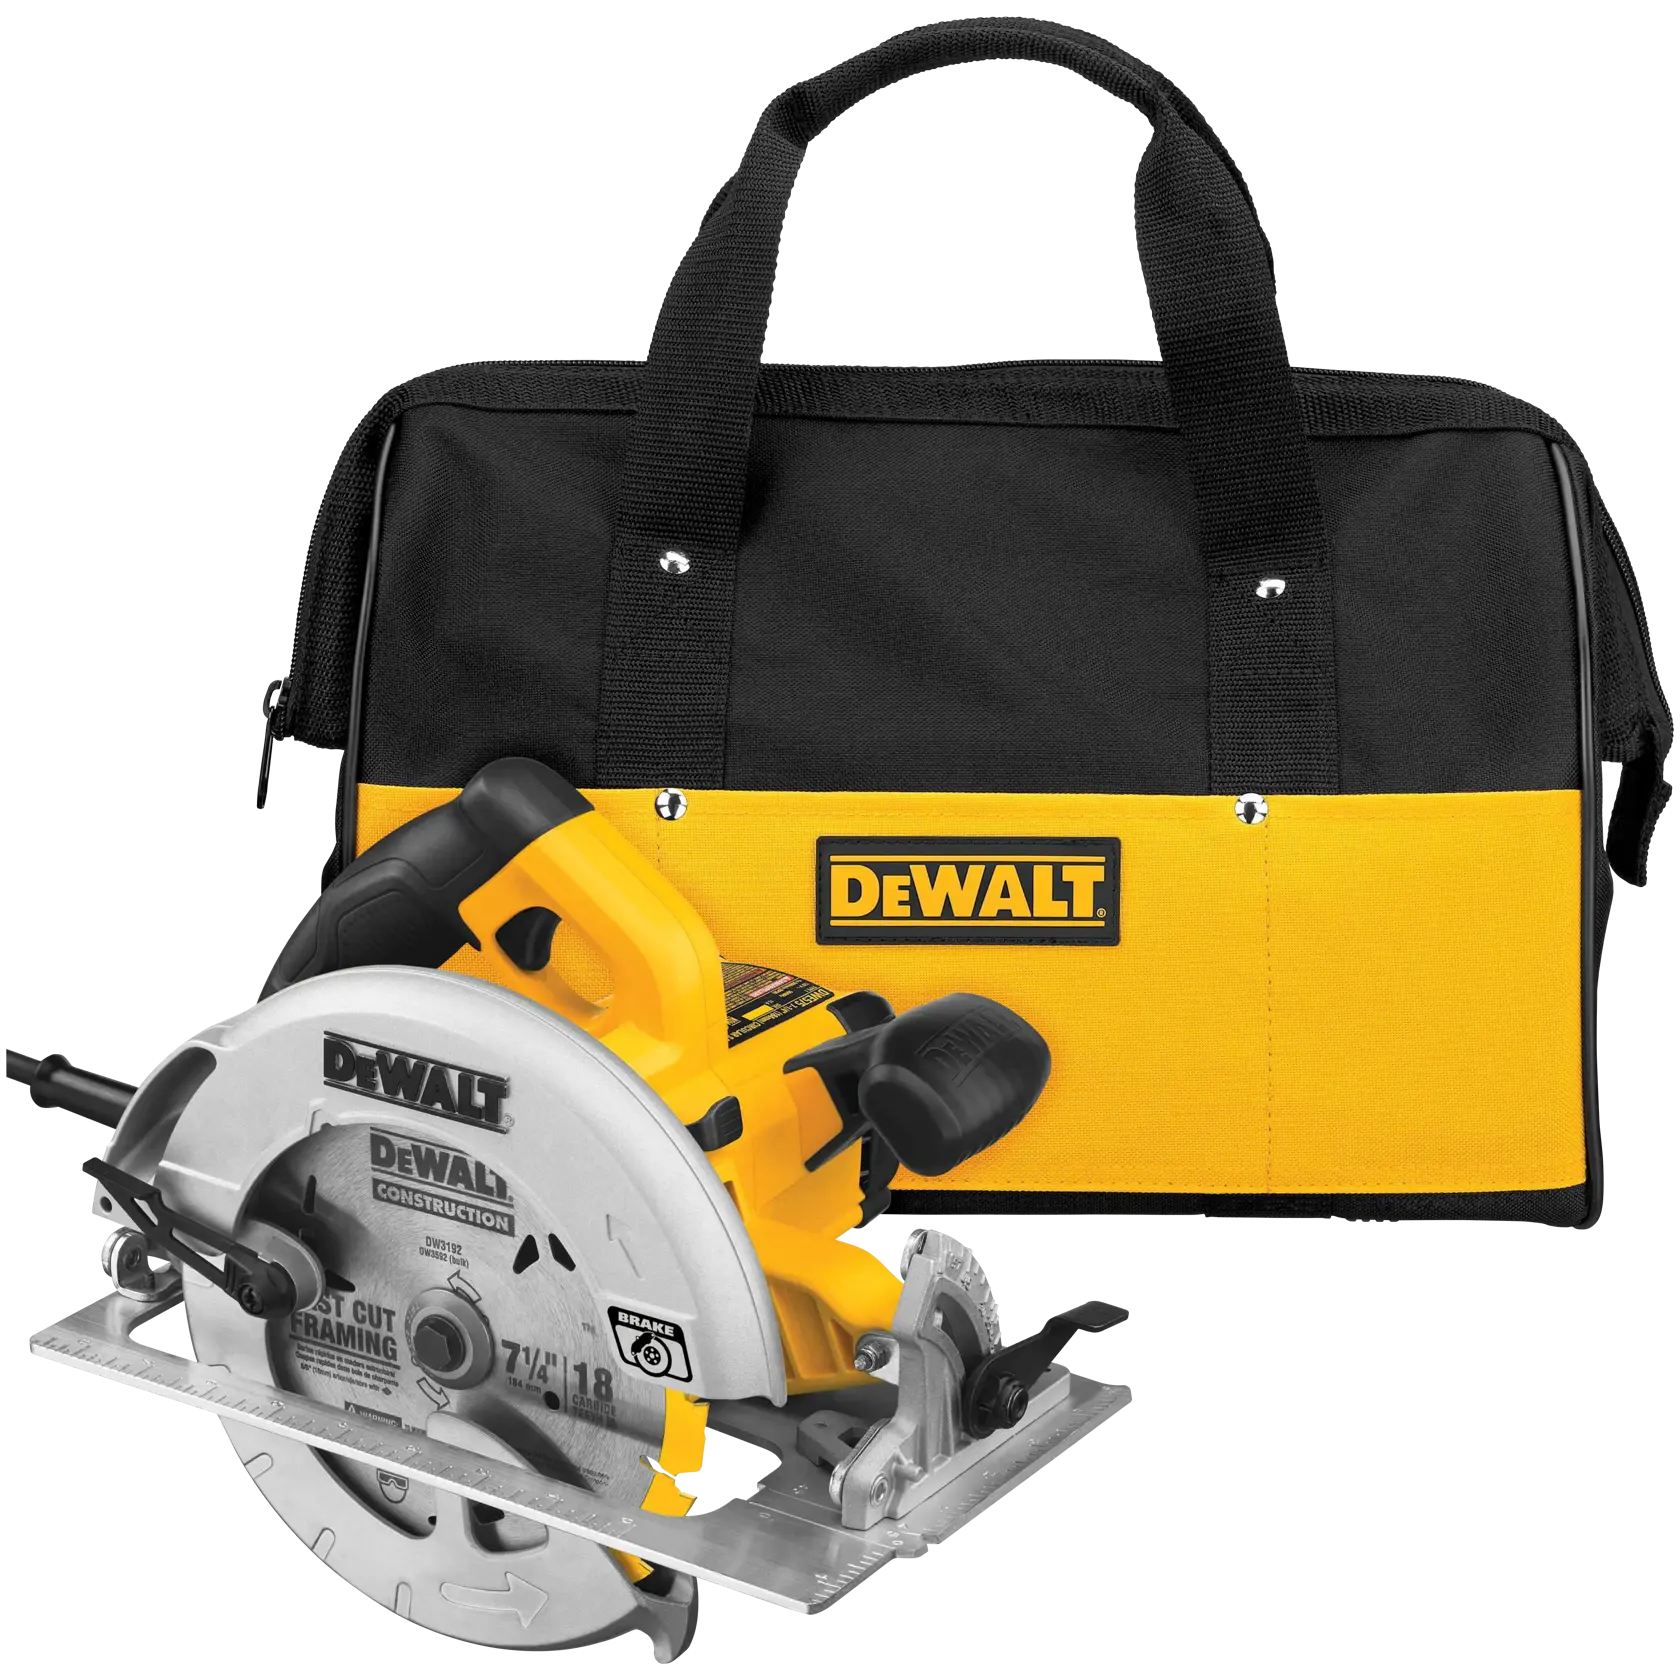
Start with layout tools and one circular saw that covers the stock. A powered cut station may make a corded saw a rational first purchase. Add support and the right blade before a second cutting system.
Mobile site work
A compatible cordless saw can reduce dependence on leads. Compare a complete working package, spare power and charging access; a bare-tool sticker price is not the kit cost.
Production upgrade
Add a miter station or appropriate framing nailer because a recurring task benefits from it. The nailer comparison belongs in the next content batch; choose collated fasteners and equipment against the actual schedule.
JOB TOOL KIT
The tools that earn their place in the bag.
These are organized by the part of the job they support. “Core” means we would prioritize it before the nice-to-have upgrades.
Research-based tool selection from manufacturer documentation. We have not hands-on tested these products. How we choose tools →
CoreMobile stock cutting
Circular Saws
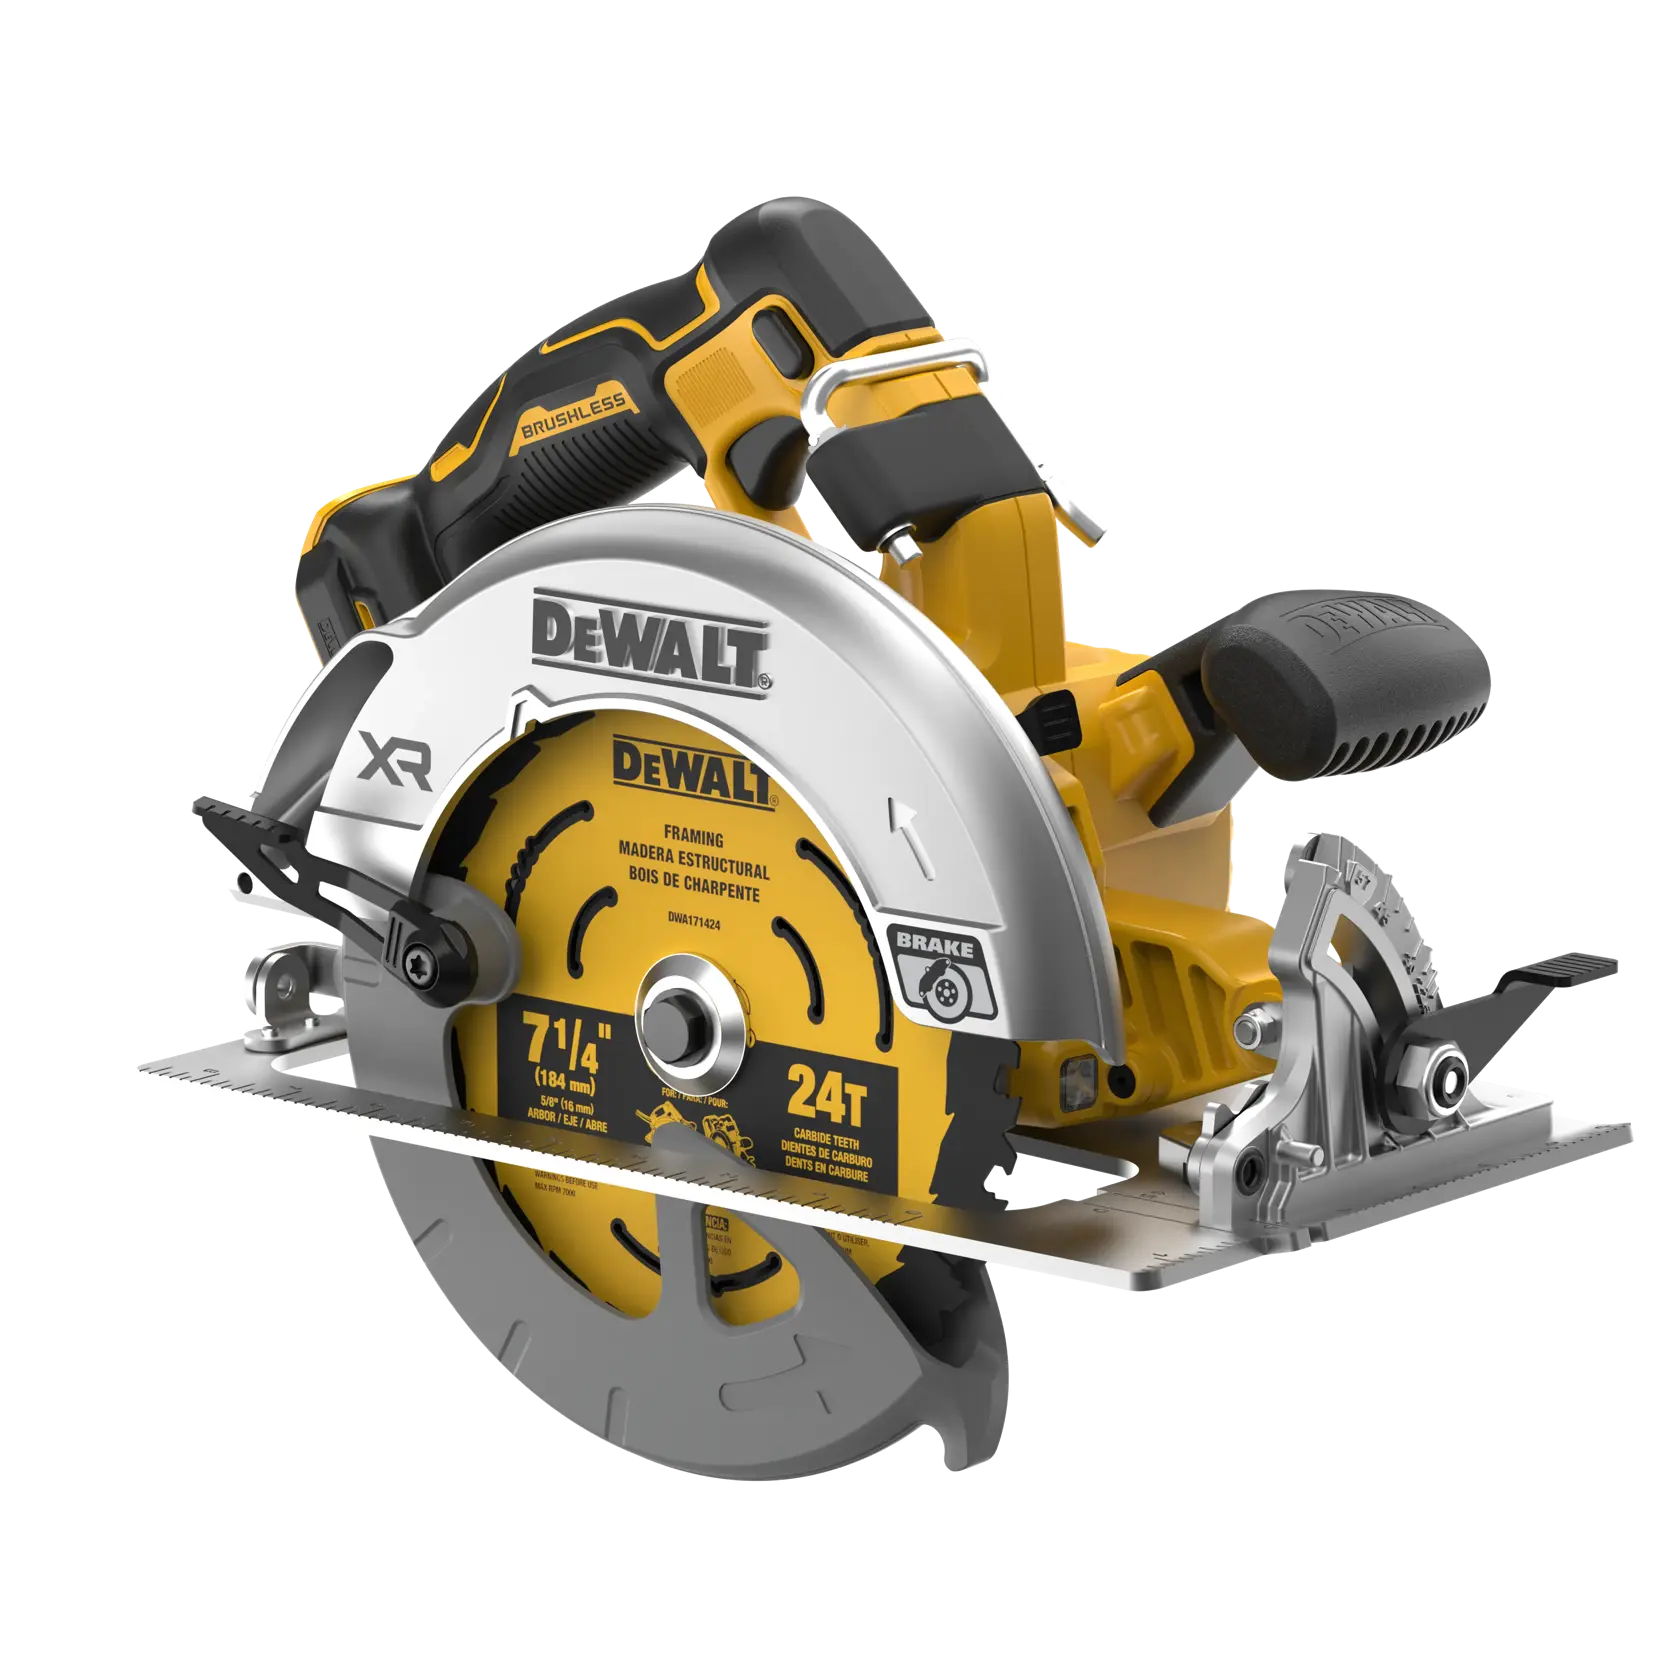
DeWalt DCS590B 20V MAX XR 7-1/4-inch Circular Saw
A 7-1/4-inch cordless option for a suitable DeWalt battery setup; include the working battery size in the handling and cost decision.
The first question is what lets you approach and verify the work safely, not which brand has the loudest launch campaign.
02
Reduce second trips
Tools earn a place when they remove guesswork, avoid a return to the van or help verify the repair before you leave.
03
Buy in the right order
Apprentices and working techs can see what is core, what is useful and what is an upgrade instead of buying everything at once.
SEARCH QUESTIONS
Questions about this kit
Should a framing saw be cordless?
Cordless helps where power access and leads interrupt the work. Corded may fit a stationary powered setup. Choose by site logistics and supported stock capacity.
Can an impact driver replace a framing nailer?
No. It uses a different fastening system. The approved design and fastener instructions determine whether and how screws or nails are used.