1. Identify the system
Record the fixture, driver, control and supply information. Determine what documentation, settings and test methods apply before selecting tools.
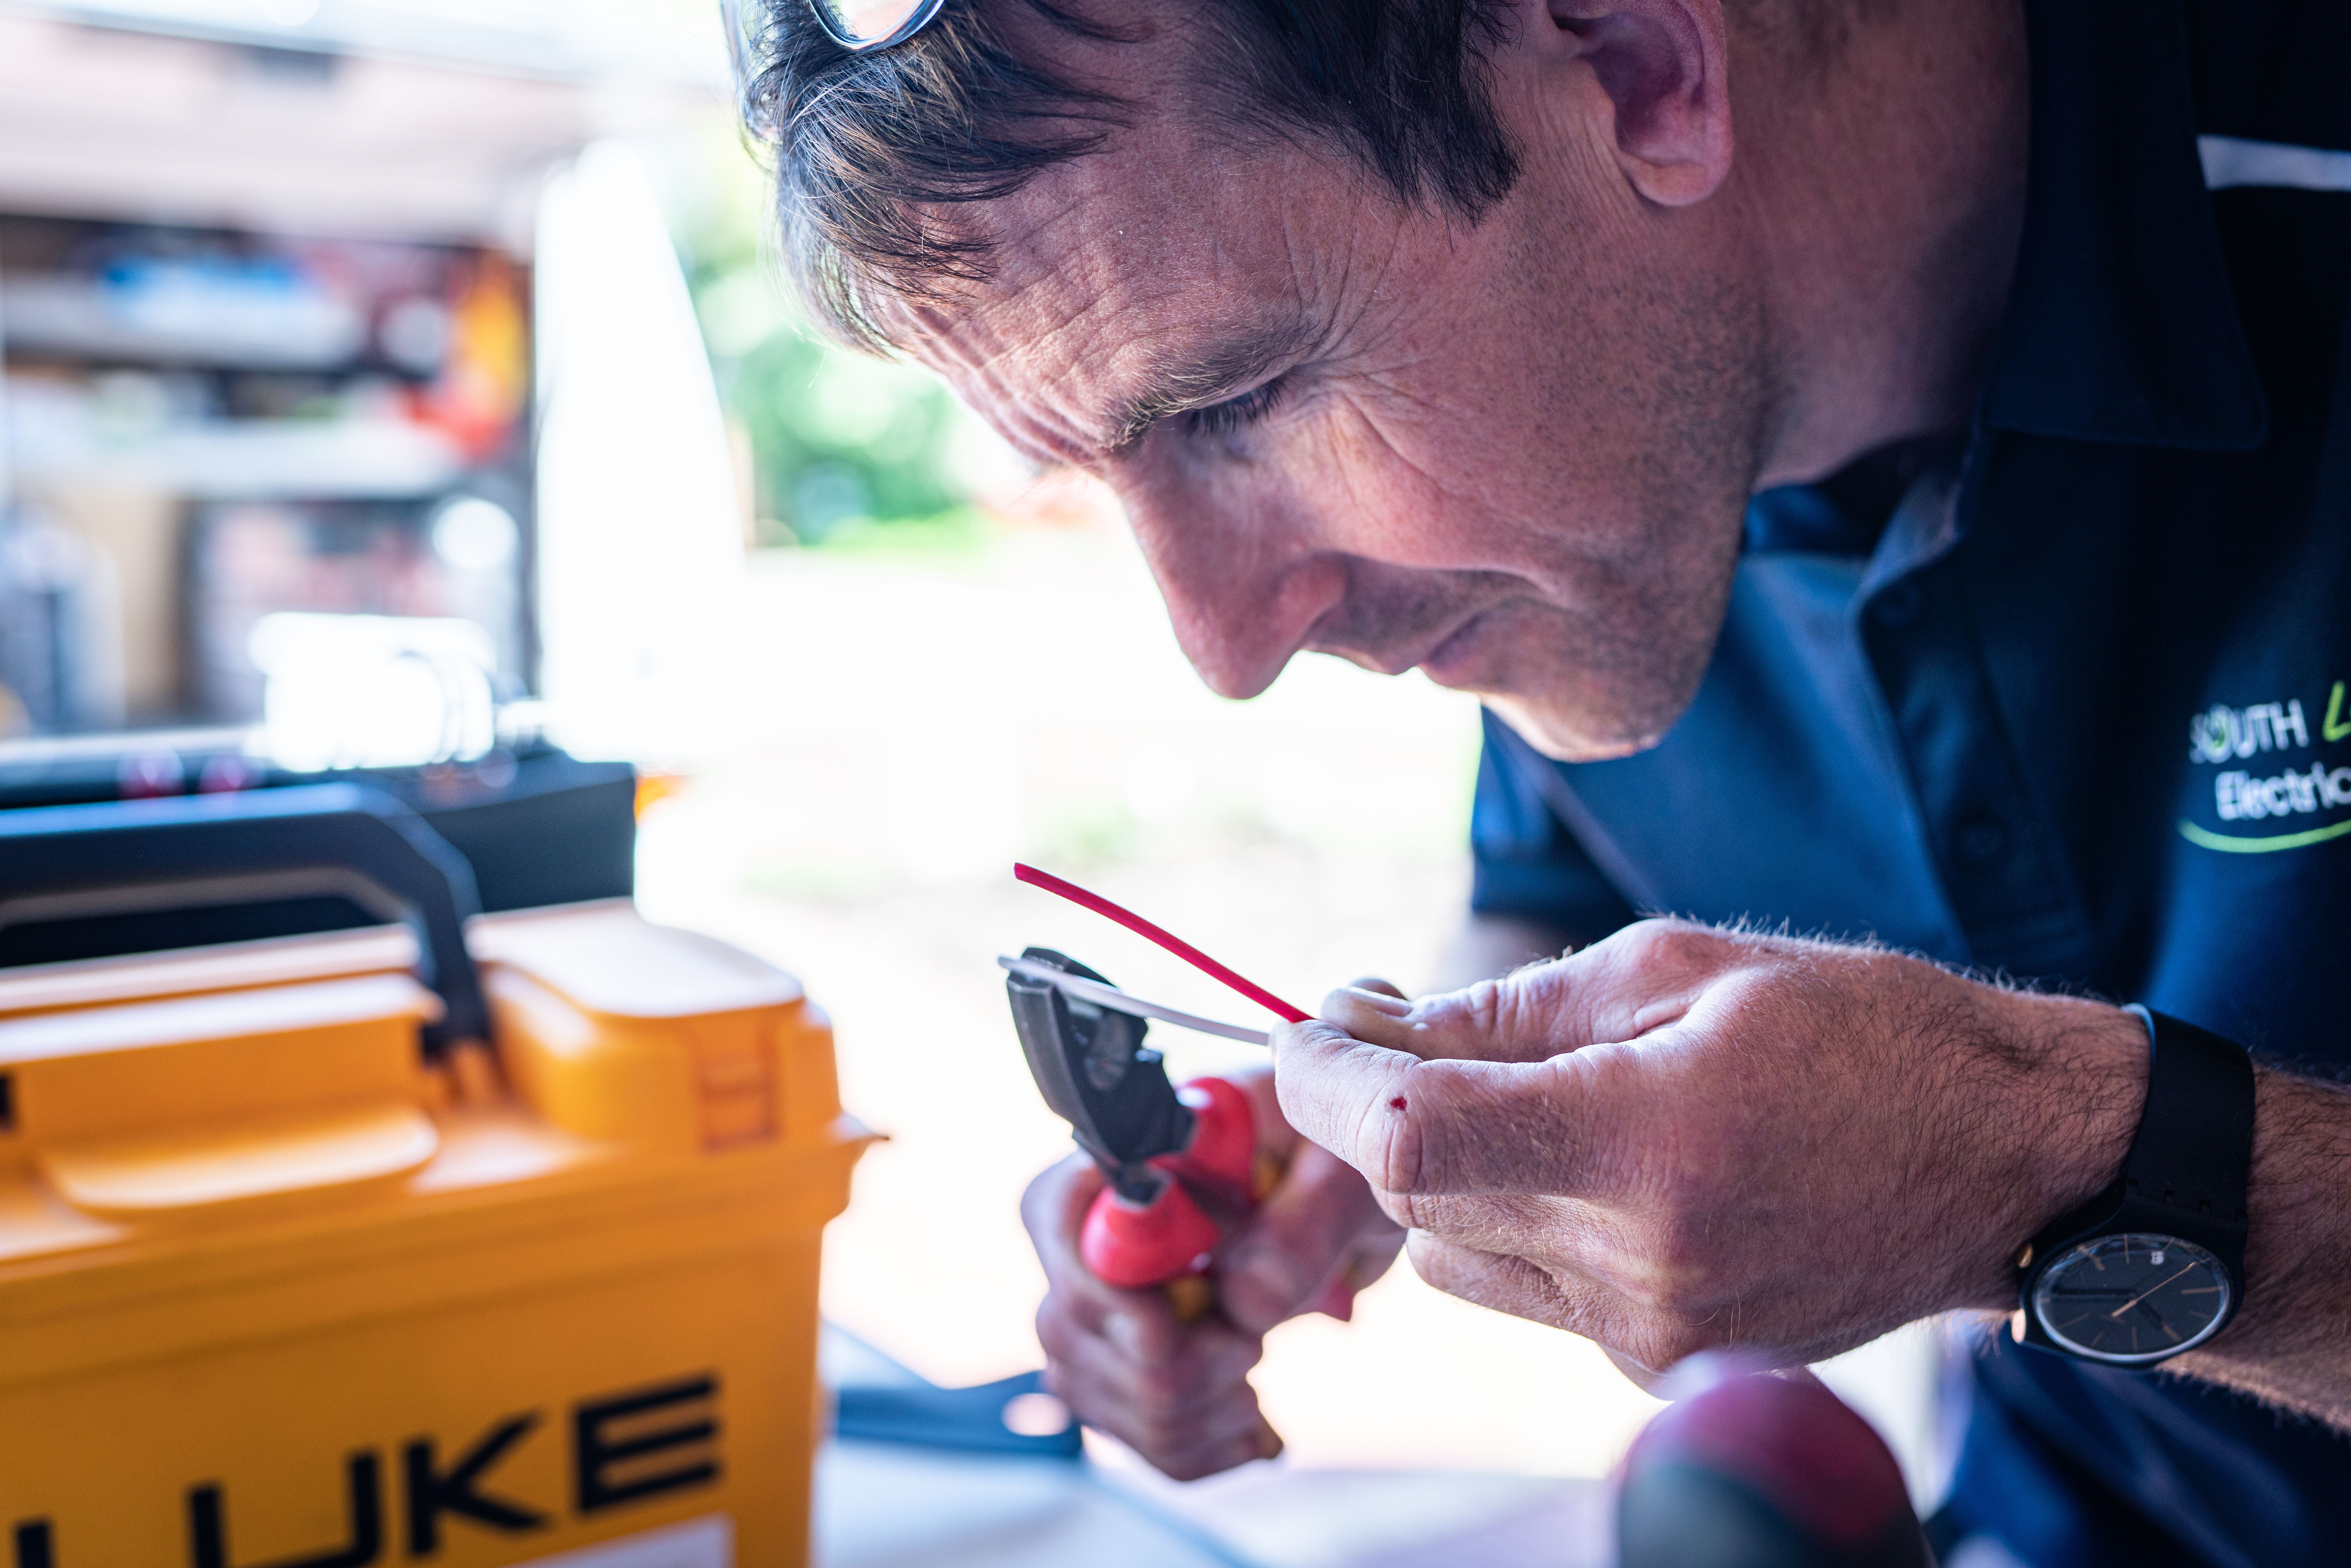
Choose tools for lighting and controls work: circuit identification, compatible measurements, access fastening, conductor preparation and functional verification.
Lighting and controls work can involve supply wiring, fixtures and manufacturer-specific controls. The kit should support identification and documented measurements as well as careful mounting and configuration. A general meter does not make every low-voltage, networked or dimming system diagnosable; start with the equipment instructions and permitted scope.
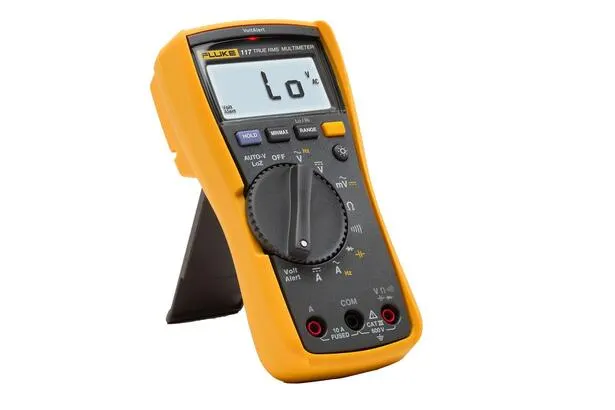
Fluke 117 Electrician's Multimeter
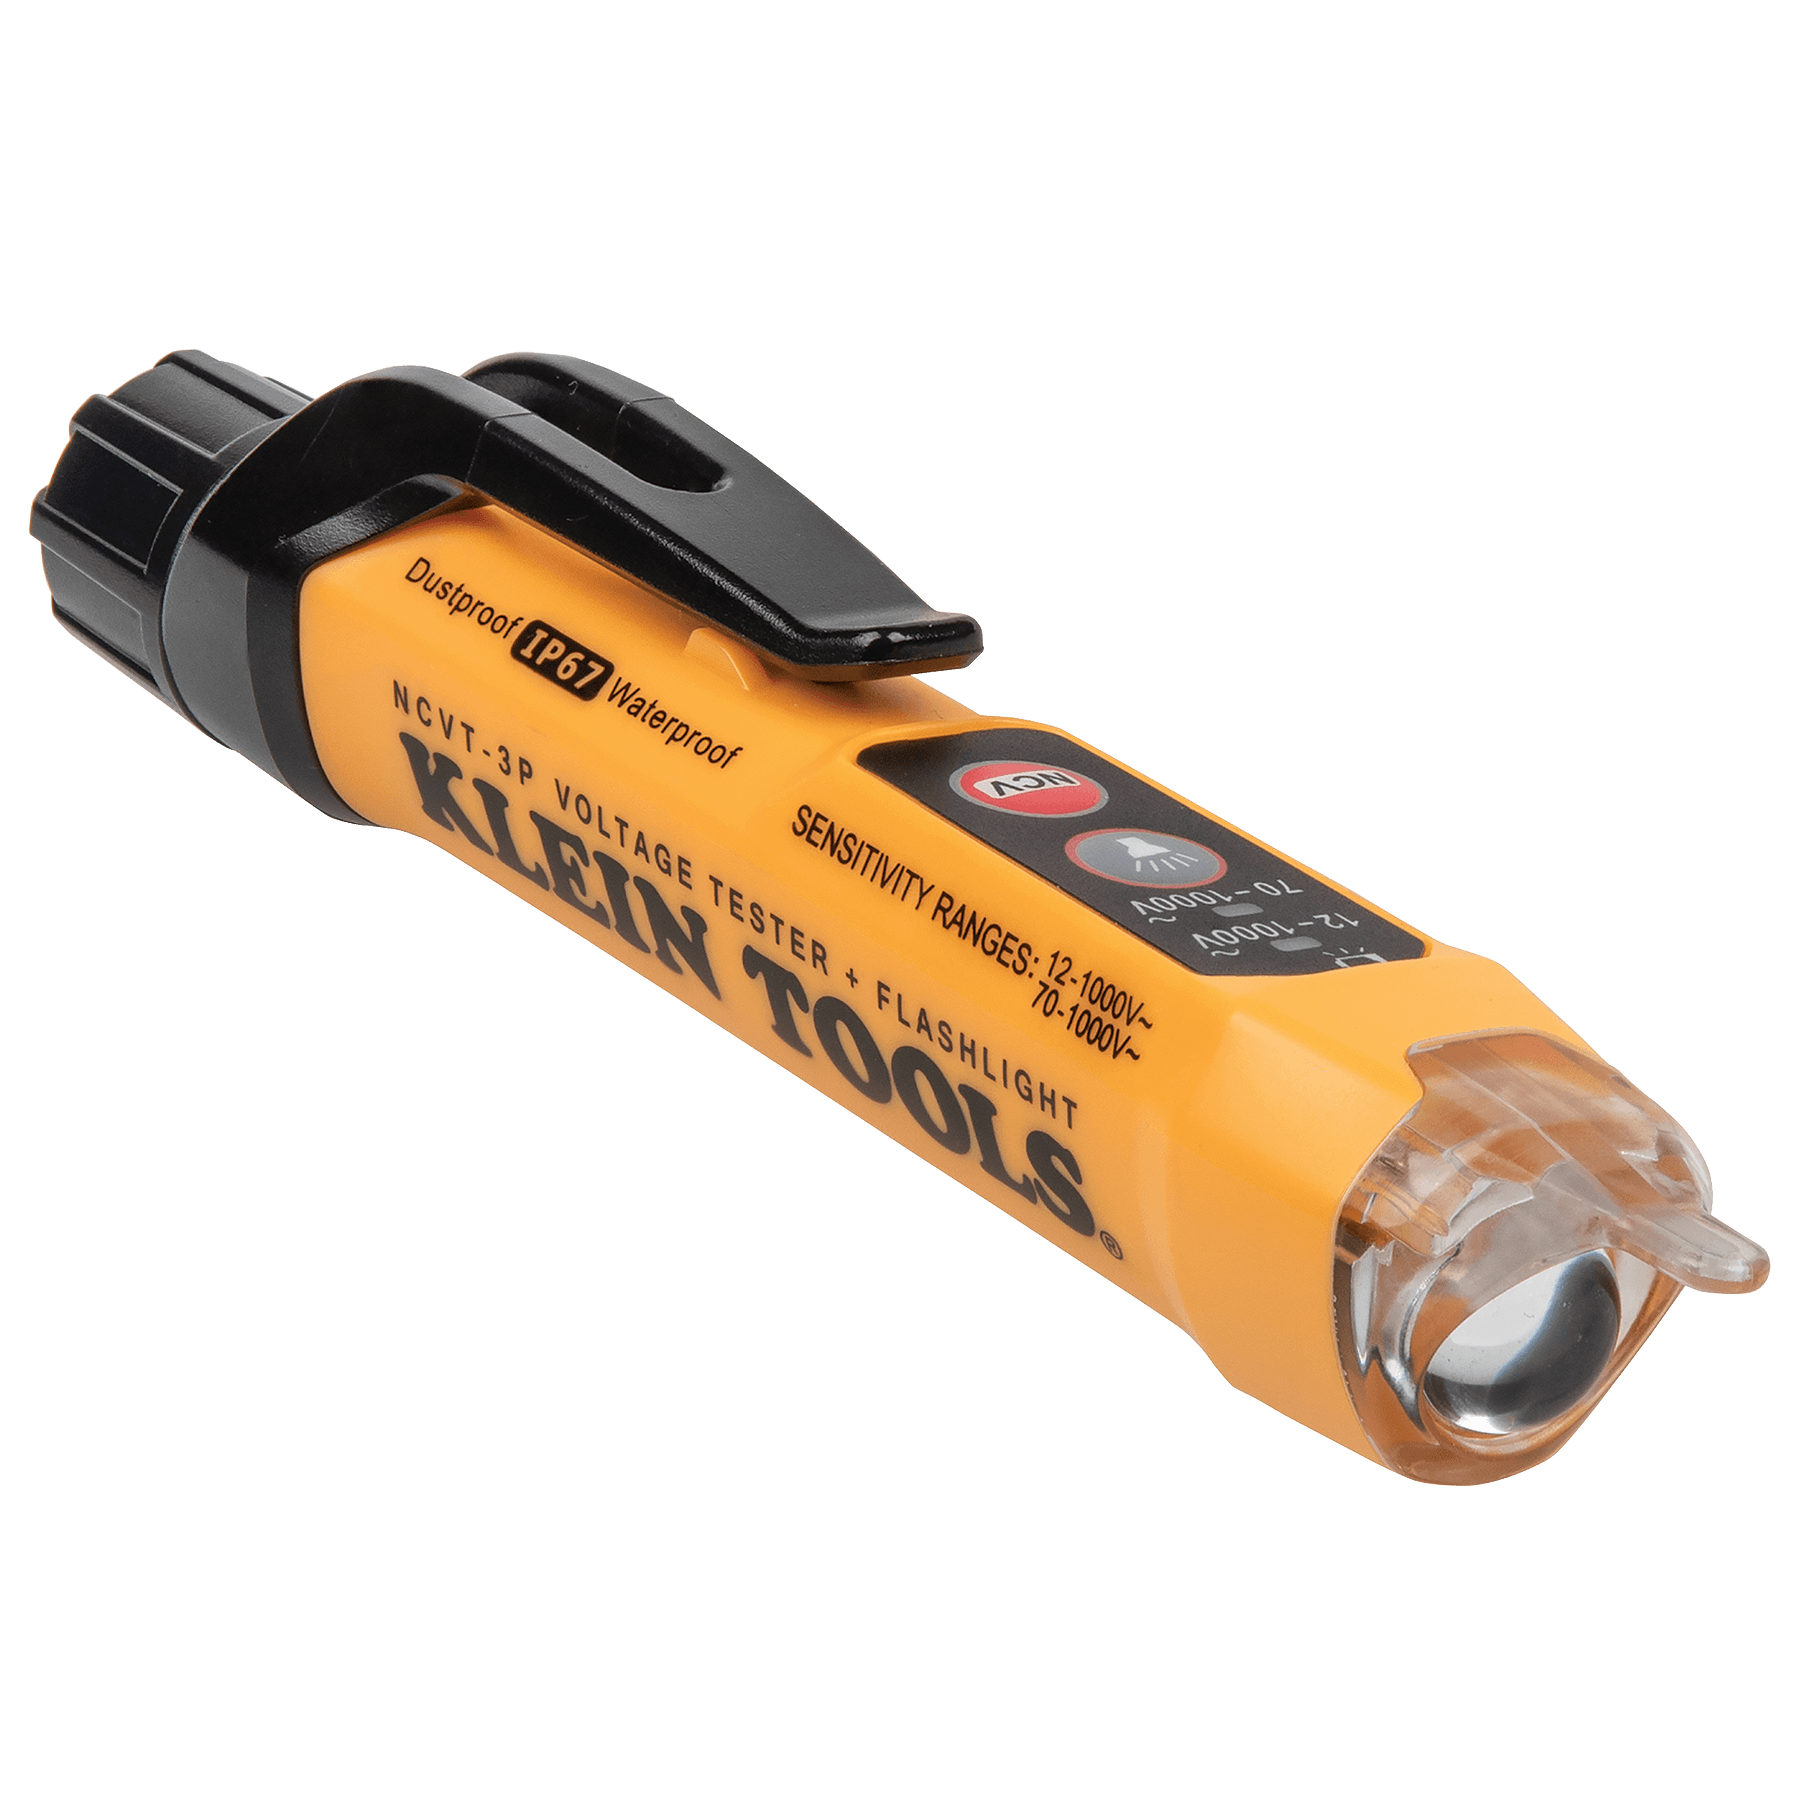
Klein Tools NCVT-3P Dual-Range Voltage Tester
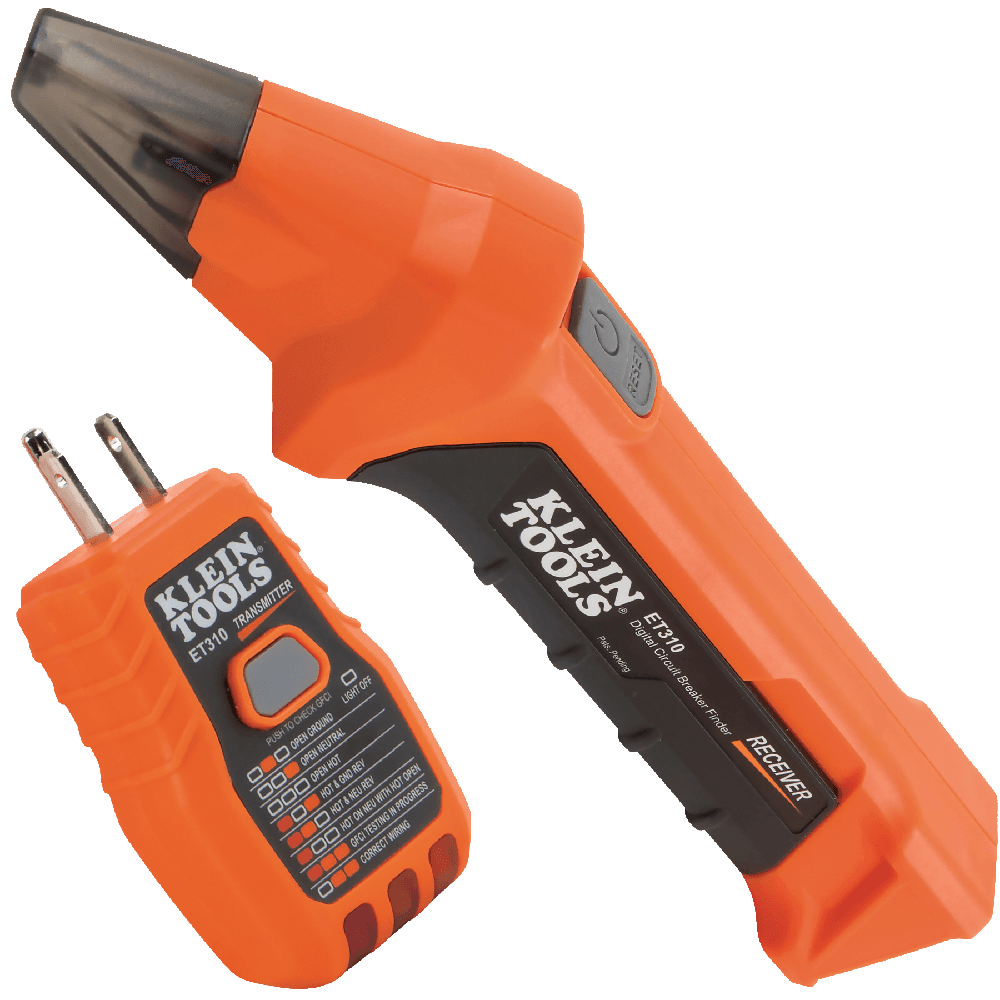
Klein Tools ET310 Digital Circuit Breaker Finder
Record the fixture, driver, control and supply information. Determine what documentation, settings and test methods apply before selecting tools.
Apply the required isolation and verification process. An indication pen is a supplementary screening tool, not permission to handle equipment.
Match the meter and identification equipment to supported measurements and circuit access. Some control systems require dedicated software or instruments.
Choose conductor preparation and fastener tools for the documented materials and profiles. Keep torque-controlled connections separate from general mounting.
Complete the specified electrical checks and permitted functional configuration. Record the final settings and explain the control behavior at handover.
These are organized by the part of the job they support. “Core” means we would prioritize it before the nice-to-have upgrades.
Research-based tool selection from manufacturer documentation. We have not hands-on tested these products. How we choose tools →
Multimeter
Useful for supported supply and component measurements. Confirm rating and function fit; proprietary controls or communications can need dedicated diagnostic equipment.
Voltage indication
A convenient supplementary screening tool before the required verification. It does not prove isolation or identify every kind of control wiring.
Breaker finder
For supported accessible receptacle circuits when relevant. A hardwired lighting circuit can need another identification method or suitable tracer accessories.
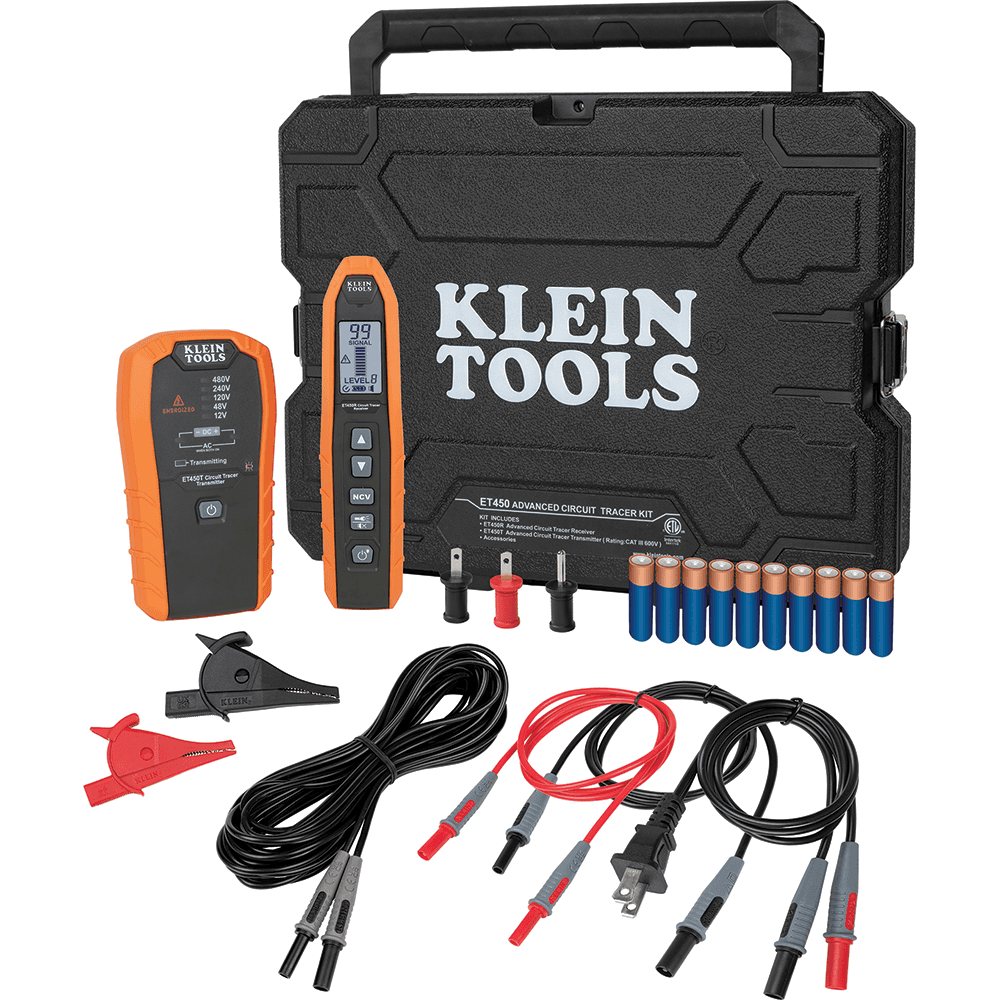
Advanced tracer
Consider when the supported identification task exceeds a plug-in finder. Verify the documented connection method and included accessories.
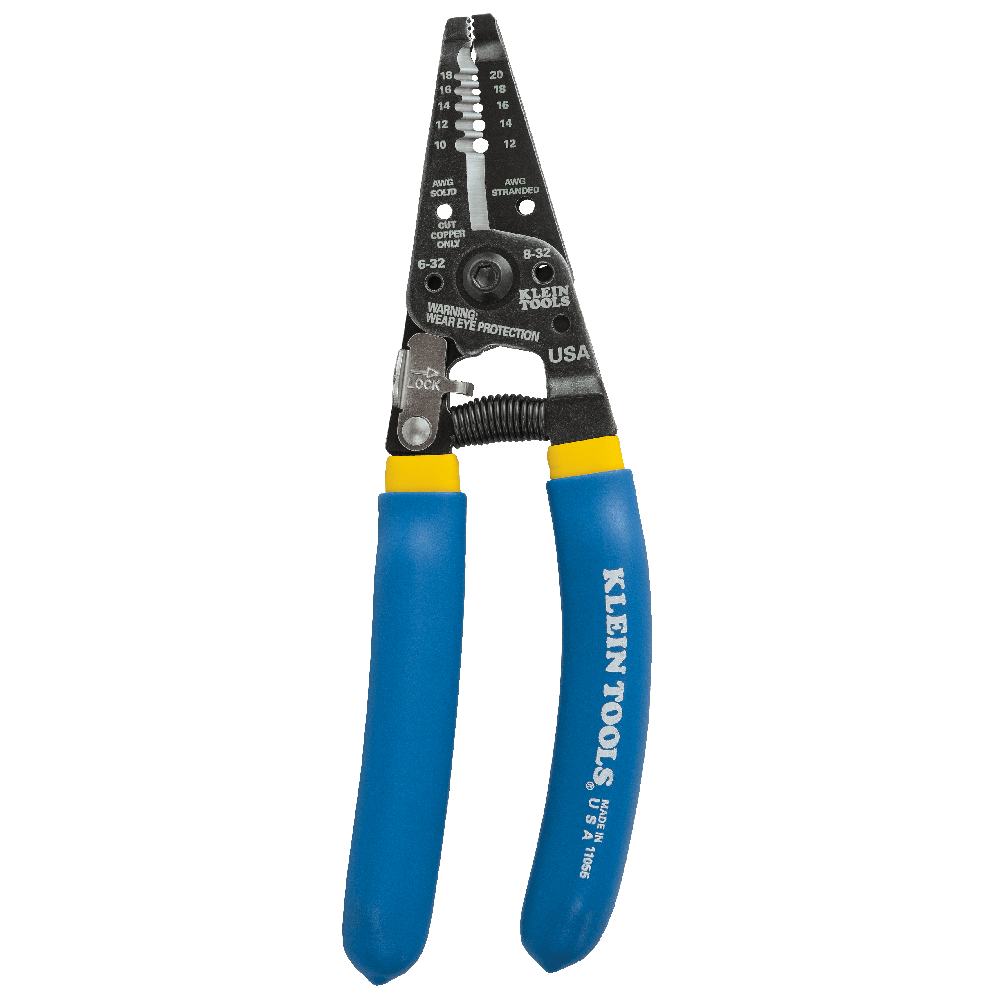
Wire stripper
Check solid and stranded copper coverage against the actual conductors. Specialty control or data cable may need a different tool.
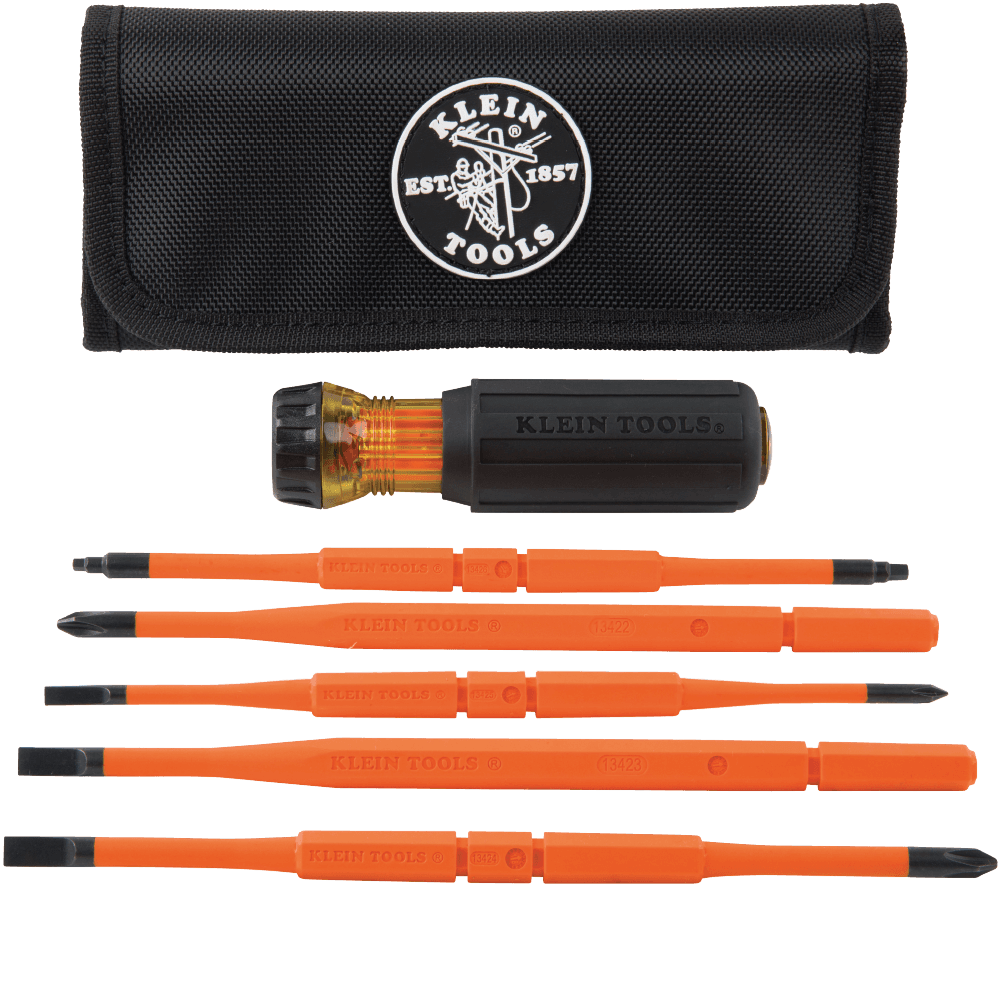
Driver profiles
Match fixture and device fasteners and the required insulation. Use specified calibrated torque equipment for connections that require it.

Installation drill/driver
An access-focused driver can suit supported mounting work. Check material capacity and fastening instructions; it is not a torque-measuring terminal tool.
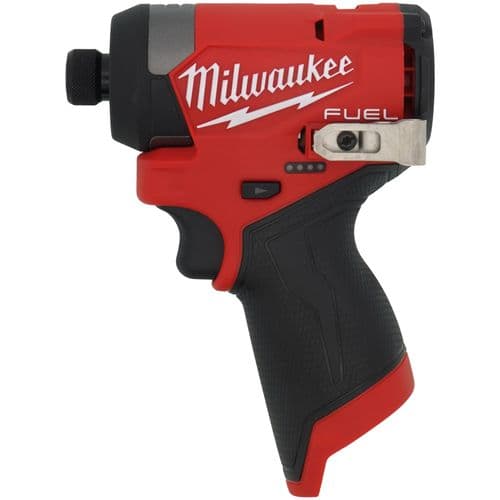
Impact driver
Only for suitable construction fastening. Delicate fixtures, devices and specified-torque connections can require another method.

Temporary work light
Keep useful task lighting available while the permanent lighting is unavailable. Plan battery power and placement independently of the circuit being worked on.
The first question is what lets you approach and verify the work safely, not which brand has the loudest launch campaign.
Tools earn a place when they remove guesswork, avoid a return to the van or help verify the repair before you leave.
Apprentices and working techs can see what is core, what is useful and what is an upgrade instead of buying everything at once.
Start with the equipment-required test instruments, identification tools, conductor preparation, correct fastener profiles, mounting equipment and temporary lighting. Access equipment and torque tools may also be required.
No. Check compatibility, documentation and the prescribed diagnostic method. Some control systems require configuration tools or specialized measurements.
The installed lighting may be unavailable during work. A suitable independently powered task light can support visibility without relying on that circuit.